Amazon has provided several feature rich services to developers in the form of AWS. These services are a solution to their complex issues relating to the development of applications, both mobile and web. AWS AppSync is one of the services that make a developer’s work easy. It can be termed as the best service provided through the AWS platform, as it automates the synchronization process of an application data between devices and the cloud.
About The Technology- AWS AppSync
AWS AppSync GraphQL service automatically updates the data in both, web and mobile applications, in real time, as well as offline, with best-in-class integration with DynamoDB, ElasticSearch, and AWS Lambda. AWS AppSync makes it super easy to build collaborative applications. It has the capability of managing both real-time data and offline programming, which helps the app deliver a responsive, collaborative user experience. With AWS AppSync, you don’t have to take the pain of creating and maintaining the complete app on your own.
You can easily get a scalable, real-time GraphQL server up and running with minimal work. AppSync can be used to build native mobile and web apps with iOS, Android, Javascript, React Native and more. To get started, you just need to go to the AWS AppSync console, specify the data for your app with simple code statements and leave the rest to AWS. It will manage everything needed to store, process and retrieve the data for your application.
Within AppSync console, from creating GraphiQL schema to provisioning the Database and Resolver, everything is possible. GraphQL set up is also present in the console which helps you test and query your database without any extra setup. This configuration will be then implemented by you on the client’s application which will give you a seamless way to interact with the GraphQL endpoint.
AppSync allows you to use one of the three resolver types right out of the box:
DynamoDB, Elasticsearch, AWS Lambda.
In this tutorial, we will be using DynamoDB.
Getting Started
To start we will first create a new AppSync application and then will add a basic Schema to it. Since our app will be storing a list of employee, so we will set the data type of our schema as Employee.
In order to get started with AppSync follow these steps:
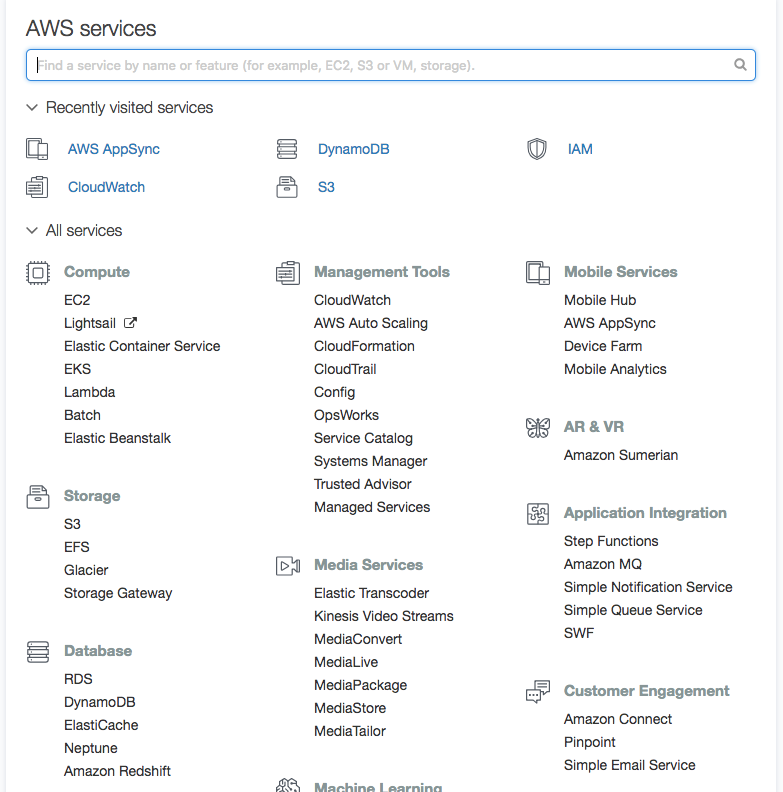
Step1: Go to AWS Console and choose AWS AppSync within the service drop-down menu.
Step2: We need to click the Create API button once we are on the AppSync Dashboard.

Step3: Now we will be having an option to give a name to our application. Let’s name the app as Employee App for this example and then choose the type of Schema; Custom or Sample. For now, we will choose the Custom Schema option and then click Create.
Step4: Now you can see the Dashboard of your newly created application. By default, the dashboard will have useful information displayed that you can view right away like the URL of the app as well as the authorization mode. You can see Schema, Queries, Data Structure, and Settings, on the left-hand side.
Creating a Schema and Provisioning a Data Source
Just to recall we have created the app and selected the Schema type Custom. The next thing that we will do is, we will create the schema that we would like to use for our application. To start off we will have Employee Type as our first Schema.
As shown below, create a basic schema with two types and one query by clicking on the Schema tab in the editor. Once created, click on Save.

Attach the Schema to a Database
We have a basic Schema created now, it is required to attach this Schema to a database. We will be needing a database table to store employee data. With AppSync, it’s really easy to connect Schema to the database. Just click the Create Resources button at the right of the screen.
Choose Employee, accept defaults and click Create. You’ll notice that this will automatically add some useful queries, mutation, and subscriptions to the schema.
Now we have successfully created a database that goes along with our Schema, along with some basic queries, mutations, subscriptions, and resolvers that will map the schema to those tables.
We will cover resolver in the next section. For now, let’s take a look at what we created. To do so, click on Data Sources on the left-hand menu. You will be able to see the two data sources that we created a few minutes back.
Run Some Test Queries
Now we have the new Mutations and Subscriptions created in our Schema. The next step is to add them to our Schema definition. To do this, scroll to the bottom of the Schema and update the Schema definition to the following:
When you click on the play button (orange coloured), you can choose to execute the createEmployee mutation or the listEmployee query. Run both and you should be able to see the employee data retrieved and the output on the right-side of the screen.
To check how this data is represented in the database, you can explore the DynamoDB employee table linked from the Data Sources tab.

Resolver Mapping Templates
Wondering, how the query maps to the database so seamlessly? So here we tell you, it’s all because of resolvers! On the right-hand side of the AppSync dashboard’s Schema tab you’ll find a section titled Data Types. This lists all of the data types within our Schema. To the right of each field, there is a heading labelled Resolver.
Let me give you a brief on resolvers. Resolvers basically are the interface between the database and the schema that we are using currently. We can use resolver for everything ranging from basic items retrieval to complex actions like fine-grained access control.
Resolvers are written in a DSL called Velocity Templating Language (VTL). Basic resolvers are automatically provisioned upon data source creation by AppSync. But, they are highly configurable. We do not need to make a lot of change in our resolvers at this point of time. But let’s take a look at 3 main resolvers types you’ll probably need to work in the real world. These are connected to the following basic operations:
1. Getting a single item by its id
2. Getting a list of items
3. Putting an item into the database
Getting an Item by ID
In the Data Type tab, next to the schema definitions, find getEmployee under the Query, and click on Employee Table.

This takes you to the resolver configuration screen. On this screen you will find three main pieces of resolver:
1. Data source name
2. Request mapping template
3. Response mapping template.
4. The data source is the table that you would like to interact with.

The request mapping template describes how the database will handle the request. Here, you can write your own mapping template or choose from a selection of pre-populated templates for basic actions like getting or putting an item among other things.
Here you can see the template for putting or inserting an item.

The response mapping template describes how we can handle database response. In our response template, we generally return the context.result and then wrap it in the $utis.toJson utility function. This is just one of many helper utils that will abstract away some of the VTL boilerplates. See the complete list of utility method in the official documentation.

As your application becomes complex, the key to getting proficient at AppSync is getting comfortable with these mapping templates. It took me a few hours to wrap my head around to understand how it all works, but after doing a few experiments with it I got to know how powerful it is.
We are not getting into all the details of resolver mapping templates, but you can check out the Resolver Mapping Template Reference and Mapping Template Context Reference to learn more about them.
Create Index
In order to create an index, go to the Data Sources and click on the Employee Table hyperlink.
This should take you to the DynamoDB table view for the employee Table. On this screen click the Indexes tab and create a new index with a partition key. You can use any one as partition key among employee id, department, designation as per your requirement.

Conclusion
In this tutorial, we’ve created the back-end for a Mobile app with its own GraphQL endpoint. We also looked at how to create and update resolvers and work with the AppSync schema.
Thanks for reading! Stay tuned for more!

Loading...